


In the previous article, we have learned about what is deno, it’s advantages on node.js. If you haven’t yet read that check it here.
So, after knowing about deno. Let’s learn how to develop using Deno in this article. Let’s start by creating a simple REST API using Deno.
Our goals:
Installation
Create an API to manage products.
Provide GET, POST, PUT, and DELETE routes.
Save created/updated users to a local JSON file.
Installation:
I am using Linux to develop this REST API. To install Deno on Linux, type this command in a terminal, which will install deno using the curl tool.
$ curl -fsSL [https://deno.land/x/install/install.sh](https://deno.land/x/install/install.sh) | sh
You can refer to other operating systems installation guide here
To verify if the deno is installed or not. Just type deno --version on your terminal it will show an install version of Deno.
$ deno --version
deno 1.0.0
v8 8.4.300
typescript 3.9.2
I recommend you after install you run deno --help the command to list documentation, options, sub-commands, and environment variables.
Running a Deno app
Type the command deno run [https://deno.land/std/examples/welco](https://deno.land/std/examples/welcoome)me.ts. This will download and compile the welcome.ts.This example will help you to test your environment of deno on your computer.
$ deno run [https://deno.land/std/examples/welcome.ts](https://deno.land/std/examples/welcome.ts)
Download [https://deno.land/std/examples/welcome.ts](https://deno.land/std/examples/welcome.ts)
Warning Implicitly using master branch [https://deno.land/std/examples/welcome.ts](https://deno.land/std/examples/welcome.ts)
Compile [https://deno.land/std/examples/welcome.ts](https://deno.land/std/examples/welcome.ts)
Welcome to Deno 🦕
If you again run this command it will not download the file again instead, it will use the cached version of the file.
List of Permission flag
As deno is secure by default it doesn’t have any permission enable. These flags will be useful while for permission while running a file.
**— allow-env:**Allow environment access.**— allow-hrtime:**Allow high-resolution time measurement.**— allow-net:**Allow network access.**— allow-plugin:**Allow loading plugins.**— allow-read:**Allow file system read access.**— allow-run:**Allow running subprocesses.**— allow-write:**Allow file system write access.**— allow-all:: **Give all access.
Let’s start
We will be developing the simple REST API using the Typescript and oak framework. We will build an API that stores the data and perform CURD operation. To test the endpoint we will be using the Postman app. You can download the Postman from here.
If you are using vs-code I will highly recommend you to install deno plugin.
Step 1 : Program struture
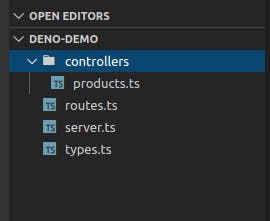
Controllers: has a logic of the application and handles the client requests.
Routes.ts: containing API routes.
Server.ts: code to run localhost server.
Types.ts: contain the model definition.
Step 2: Choose a web framework
In the node.js world, we have lots of web frameworks the popular one is Express. As deno is not compatible with node.js we can’t use node.js libraries.
Just a first version of deno is launched so, we have fewer choices. We will use Oak, which is inspired by Koa.
Step 3: Let’s set up a localhost server
create server.ts file and import Application from [https://deno.land/x/oak/mod.ts](https://deno.land/x/oak/mod.ts) and setup port
Step 4: set up routes
Now let’s create the routes.ts file and import Router from [https://deno.land/x/oak/mod.ts.](deno.land/x/oak/mod.ts.) and create routes for our API.
please don’t get confused by methods of routes. We will create them later in the controller file.
Now, coming back to our server.ts file, import the router, and create an application to listen to the PORT. The final version ofserver.ts will look like this.
Step 5: Let’s create our model
types.ts will hold the interface of the product.
Step 6: Create our products
We will create an initial array of products object.
Now we will create different methods one by one in products.ts file and test it with Postman.
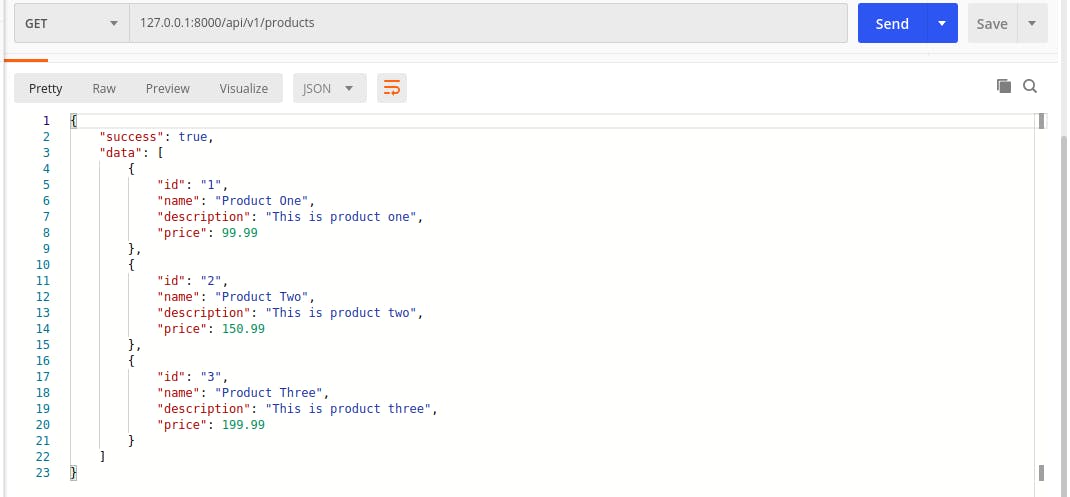
getProducts: It will return all products on list. As stated above. Making GET request on /api/v1/producs
Testing on Postman
getProduct: It will return the single product by Id and error if the product not found. Making GET request on /api/v1/products/:id
Testing on Postman
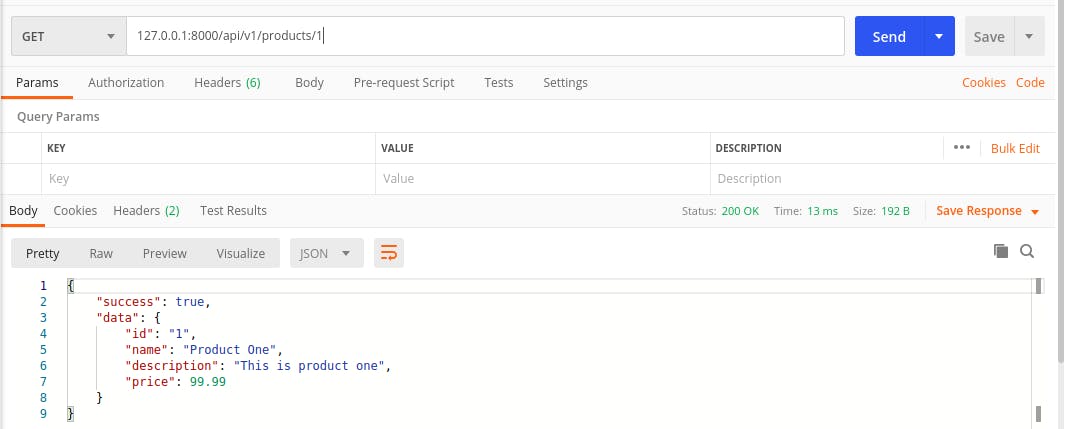 Product Found
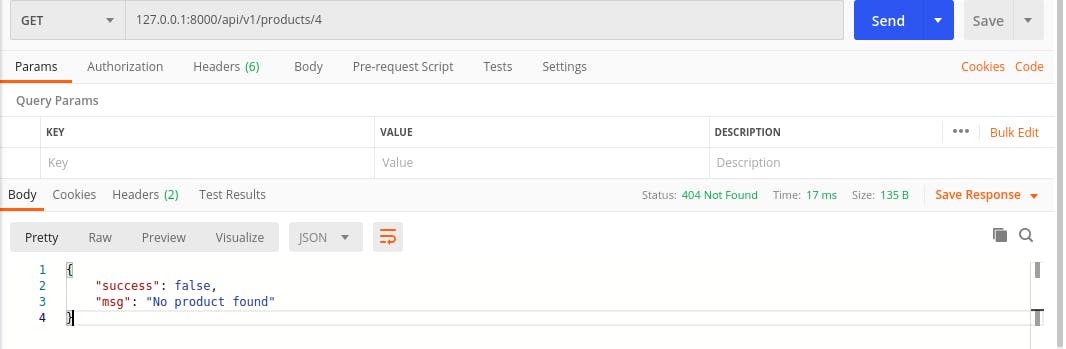 Error: Product is not found
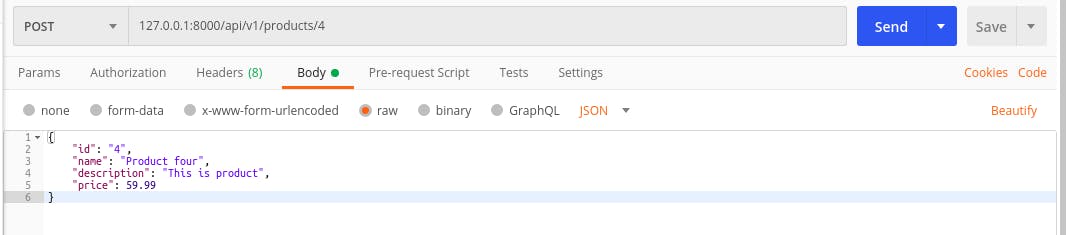
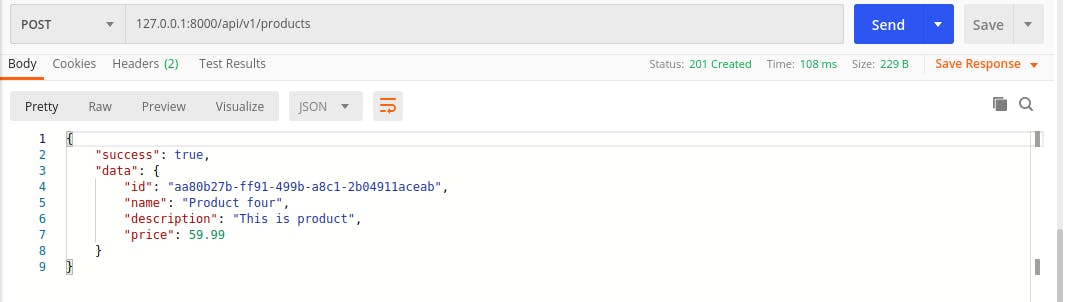
addProduct: It will add the product to the list. Making POST request on /api/v1/products.
Testing on Postman
updateProduct: It will update the product. Making PUT request on /api/v1/products/:id.
Testing on Postman
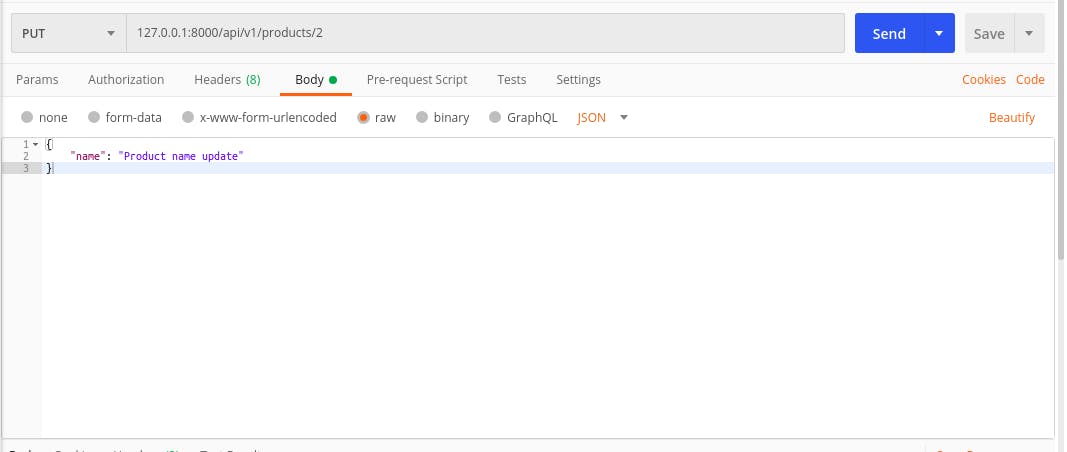 Data to update the name
 Name updated of Id: 2
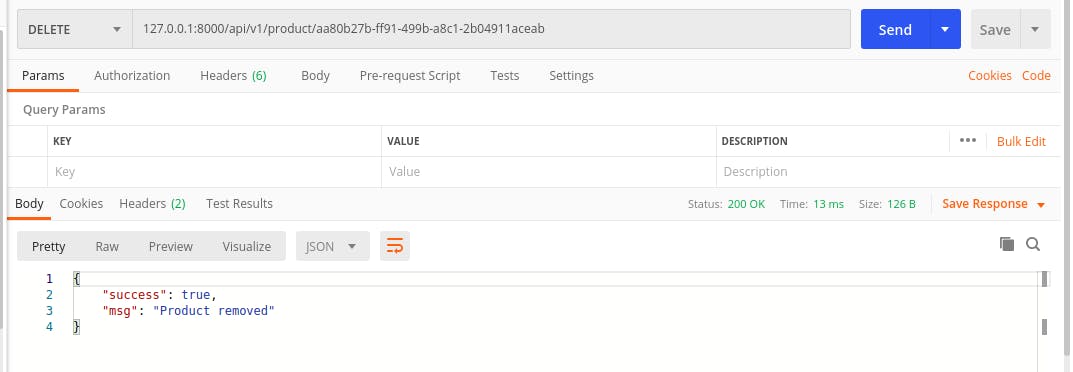
deleteProduct: This will delete the product from the list. Making the DELETE on /api/v1/product/:id
Testing on Postman
After creating these functions, we need to import it to the router file. complete the product.ts by exporting these functions.
export { getProducts, getProduct, addProduct, updateProduct, deleteProduct }
Final Words
We reach the end of the quick guide to get through the deno installation and develop a simple Rest API using deno. You can explore more about deno through documentation. Deno has an amazing list of the Standard Library and Third-Party Modules.
Find full source code on Github
Do you have any queries? If so, kindly leave a comment below. I’d be very grateful if you’d help it spread by emailing it to a friend or sharing it on Twitter or Facebook. Thank you!
Code credit: Traversy Media